Showing posts with label chocolate cake. Show all posts

Wednesday, June 27, 2012

Daring Bakers' Challenge June 2012 - Battenberg Cake


Mandy of What The Fruitcake?! came to our rescue last minute to present us with the Battenberg Cake challenge! She highlighted Mary Berry’s techniques and recipes to allow us to create this unique little cake with ease.
 
This is my take on the traditional Battenberg cake.  In honor of my home state’s (and my favorite) flower, I call it the Black-Eyed Susan Battenberg Cake - you know, 'cause it's black and orange. 

Let’s allow the photos to do the talking today. 

Black-Eyed Susan Battenberg Cake (adapted from the Daring Kitchen)

1 ¼ c self-raising flour*
¾ c butter, softened & cubed
¾ c sugar
3 large eggs, room temperature
½ c ground almonds
¾ t baking powder
½ t vanilla extract
¼ t orange extract
Zest of half an orange
¼ t almond extract
¼ c cocoa

* In place of self-raising flour, add 1 ½ t baking powder and ½ t salt for every cup of flour.


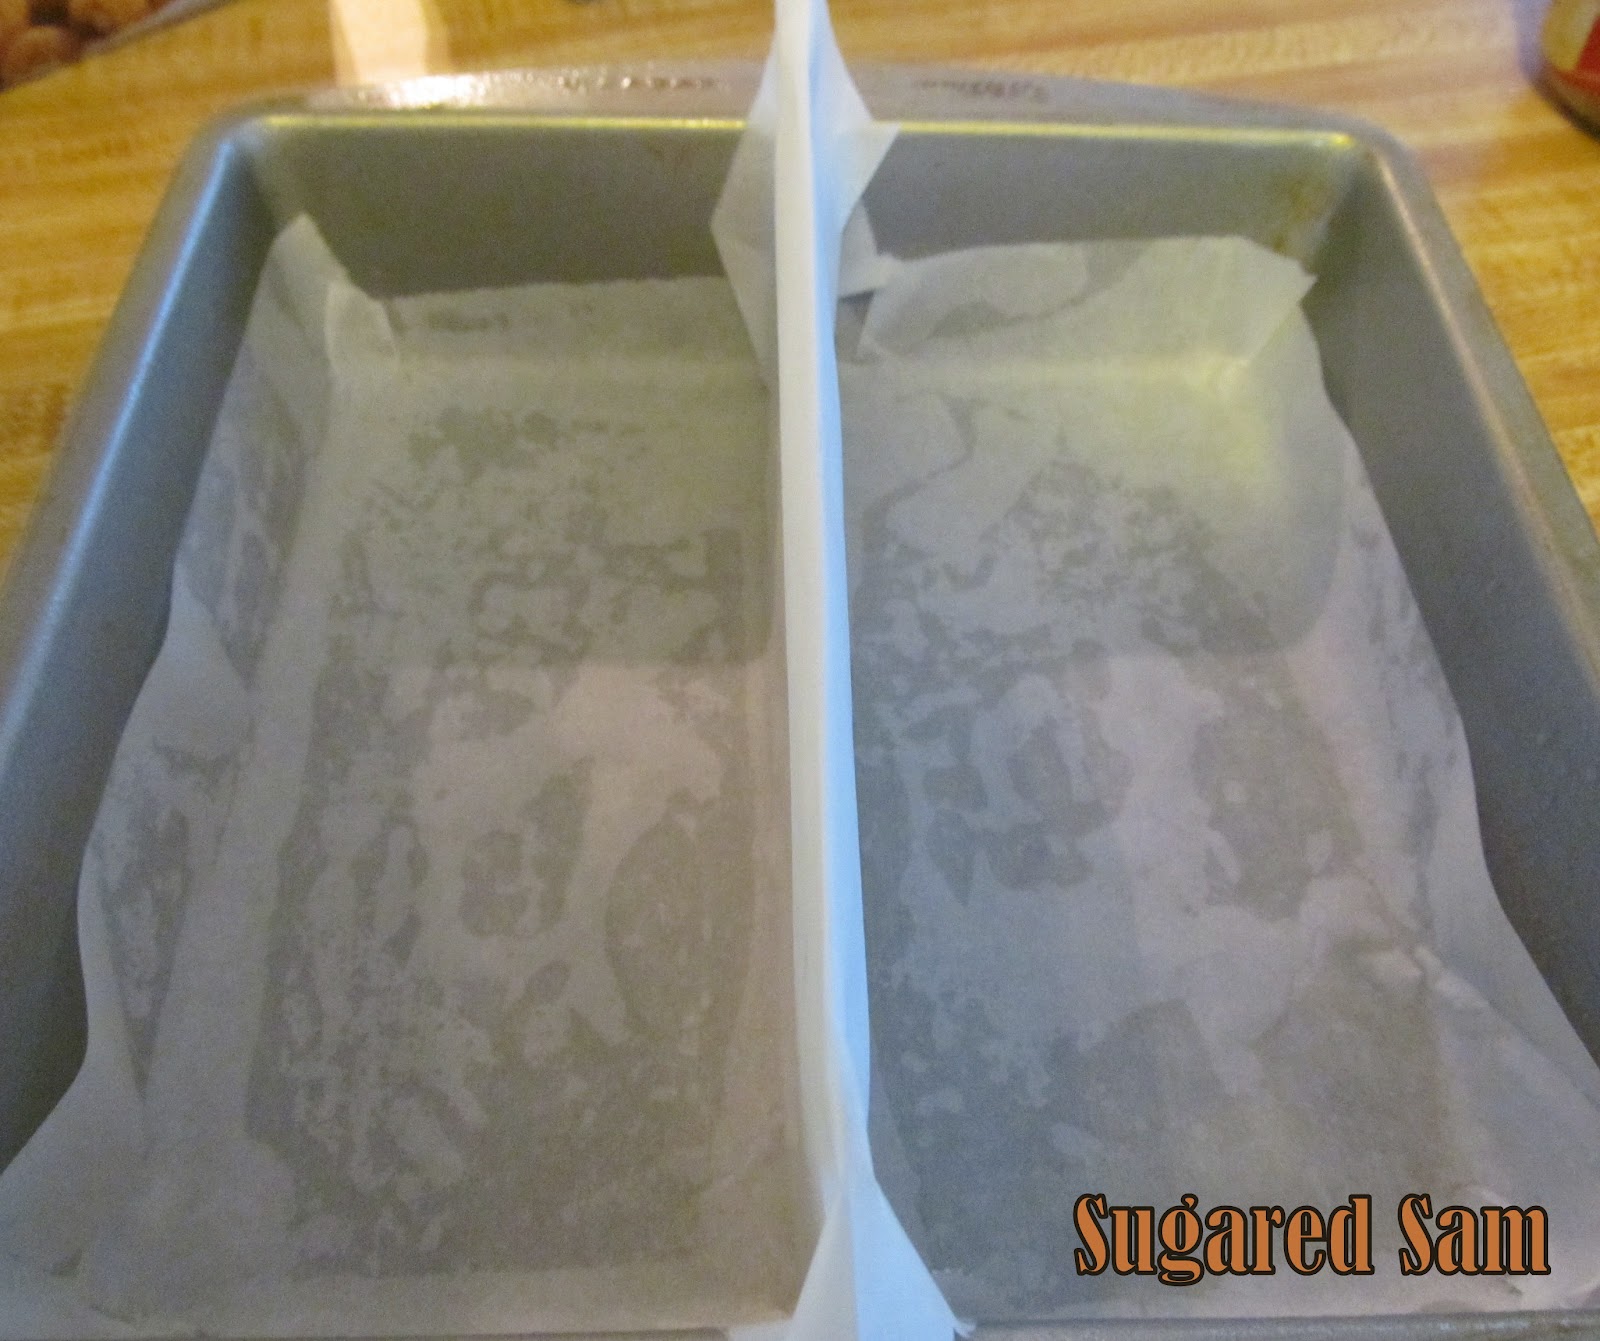
Preheat oven to 350°. Grease an 8-inch square baking pan, then line with parchment paper, creating a divide in the middle with foil.

Beat together flour, butter, sugar, eggs, ground almonds, baking powder, and vanilla extract just until combined.


Place half of the batter into another bowl and stir in orange zest and extract.  If desired, add gel food coloring to create the perfect orange hue.

In the original bowl, stir almond extract and cocoa into the remaining batter.


Spread the orange batter in one half of the pan and the chocolate batter in the other side, making sure batter is in each corner.


Bake for 25-30 minutes, until cake springs back from a light touch. 


After the cakes have cooled, cut each one into two long strips, making sure all four pieces are even.
Crumb coat each strip of cake and stick together in a checkerboard pattern.
Dust a flat surface and rolling pin with powdered sugar and roll marzipan into a rectangle.


Wrap the cake in marizpan.


Slice off the ends to reveal the gorgeous cake and enjoy!

Friday, April 6, 2012

Craziness and Extra Devilish Chocolate Cake


Sometimes life is just plain annoying. In the same fabulous week, both my camera and my laptop died. For 17 l-o-n-g days, the computer repair people had my connection to Pinterest, my favorite blogs, online shopping, etsy, etc. held hostage. It was brutal. (Yes, I may have a wee bit of an Internet addiction.)

Fortunately, my Kindle arrived around day 8, so I wasn’t completely isolated from the electronic world.  And not to veer too wildly off topic, but I just love my Kindle. As an avid bibliophile and English lit major, I was convinced nothing could replace the joy of curling up with a real book and turning paper pages. Then I saw one of the books I recently oversaw and edited (during my day job at a publishing company) on an iPad. It just took a few moments and I was hooked.

Okay, I could gush all day, but back to the cake. Thanks to the Kindle, I was able to do a little research on the musical my niece performed in last weekend. The show is loaded with elaborate dance numbers and many of my favorite Gershwin songs, so my cake thoughts immediately turned to art deco. Most of the action, however, takes place in the Midwest. This is how I blended the two themes.

I played around with the basic Pilsbury devil’s food cake recipe. I added a hint of coffee to bring out the chocolate flavor and filled each split layer with raspberry jam.


Extra Devilish Chocolate Cake (adapted from Pilsbury Kitchen’s Cookbook)

1 ½ c flour
1 ¼ c flour
½ c dark chocolate cocoa
1 ¼ t baking soda
1 c buttermilk
⅔ c oil
1 T instant coffee
1 t vanilla
2 eggs

Preheat oven to 350° F and grease two 8-inch round cake pans.

In a large bowl, mix all ingredients at a low speed until combined. At medium speed, mix for 3 minutes.

Pour batter into prepared pans and bake 25-30 minutes or until cake bounces back from a light touch. 

Bragging time. Once again I was blown away by my niece’s talent – singing, dancing, and obviously enjoying her role as the spoiled, overbearing, and highly amusing jilted fiance. I’m proud of you, Becca/Irene!


Wednesday, November 16, 2011

Candle Cake


In case you can’t tell, I created this cake to celebrate a 60th birthday. I was so busy planning the decorations I forgot to take baking pictures. So, for a bit of a change, this time I’m gonna let the photos do the talking. (Don’t worry.  I’ll share the recipe – with photos – soon.)


First, I drew and cut out a template for the row of candles.

Then I made the 60 from gumpaste and covered it with chocolate fondant.

My first attempt with the row of fondant candles was less than stellar. The food coloring markers (obviously it wasn’t me) indented the soft fondant. When I applied the fondant to the cake, it started to tear and wrinkle. Ack!

Round 2 – Here’s the refrosted cake, all ready to go.

This time I applied the fondant first and then decorated. I used a food coloring marker for the black lines and mixed food coloring with a little water to paint on the brown lines.

I wasn’t entirely sure the cake would come together until I added the flames.

I took a step back and decided to pipe a bead border around the bottom.

Finally, I added the birthday message and my first cake of the week was done. Stay tuned for cake #2.
Follow Me on Pinterest